Can You Laminate Stickers: Step-By-Step Guide
For sticker enthusiasts, preserving stickers takes top priority. Given their susceptibility to damage through weathering, tears, and fading, we must explore ways to expand their lifetime. One such method gaining popularity is lamination, a transparent, protective layer applied to paper or card, giving the objects enhanced durability. Today, let’s explore the concept of lamination and its potential benefits and answer the question—”can stickers be laminated?”
Can You Laminate Stickers?
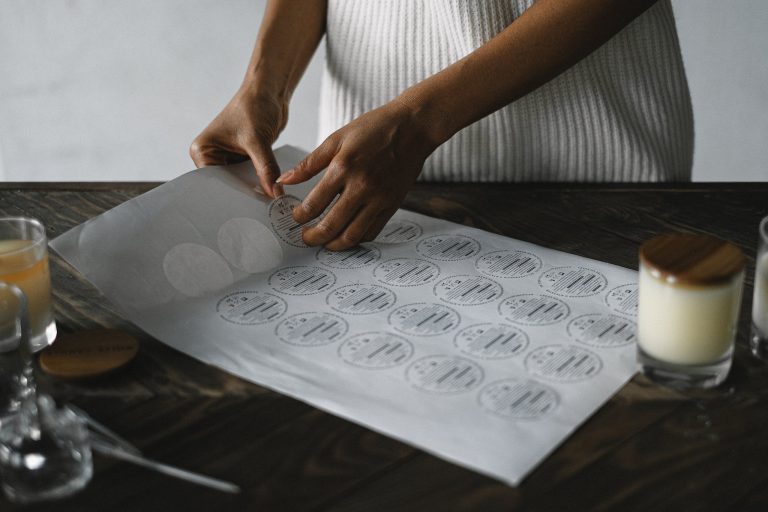
You may be pleased to know that, yes, stickers can be laminated! Laminating stickers is an entirely feasible process, primarily dependent on the sticker material and the laminator capable of accommodating this material. From thermal to cold laminators, the market offers different types appropriate for your needs.
Benefits of Laminating Stickers
The reason for laminating stickers extends way beyond traditional preservation. Interestingly, lamination increases a sticker’s lifespan, making them resistant towards water and preserves them from any potential damage. This process gives your stickers an increased shelf life and an amped-up aesthetic appeal.
By laminating your stickers, you preserve captivating designs and bold colors. Lamination works to enhance the sticker’s appearance, keeping it vibrant much longer than an ordinary sticker. Additionally, it provides a sturdy protective barrier against everyday wear and tear, preventing your sticker from tearing prematurely and keeping it in prime condition for an extended time.
A Step-by-step Guide on How to Laminate Stickers Using a Laminator
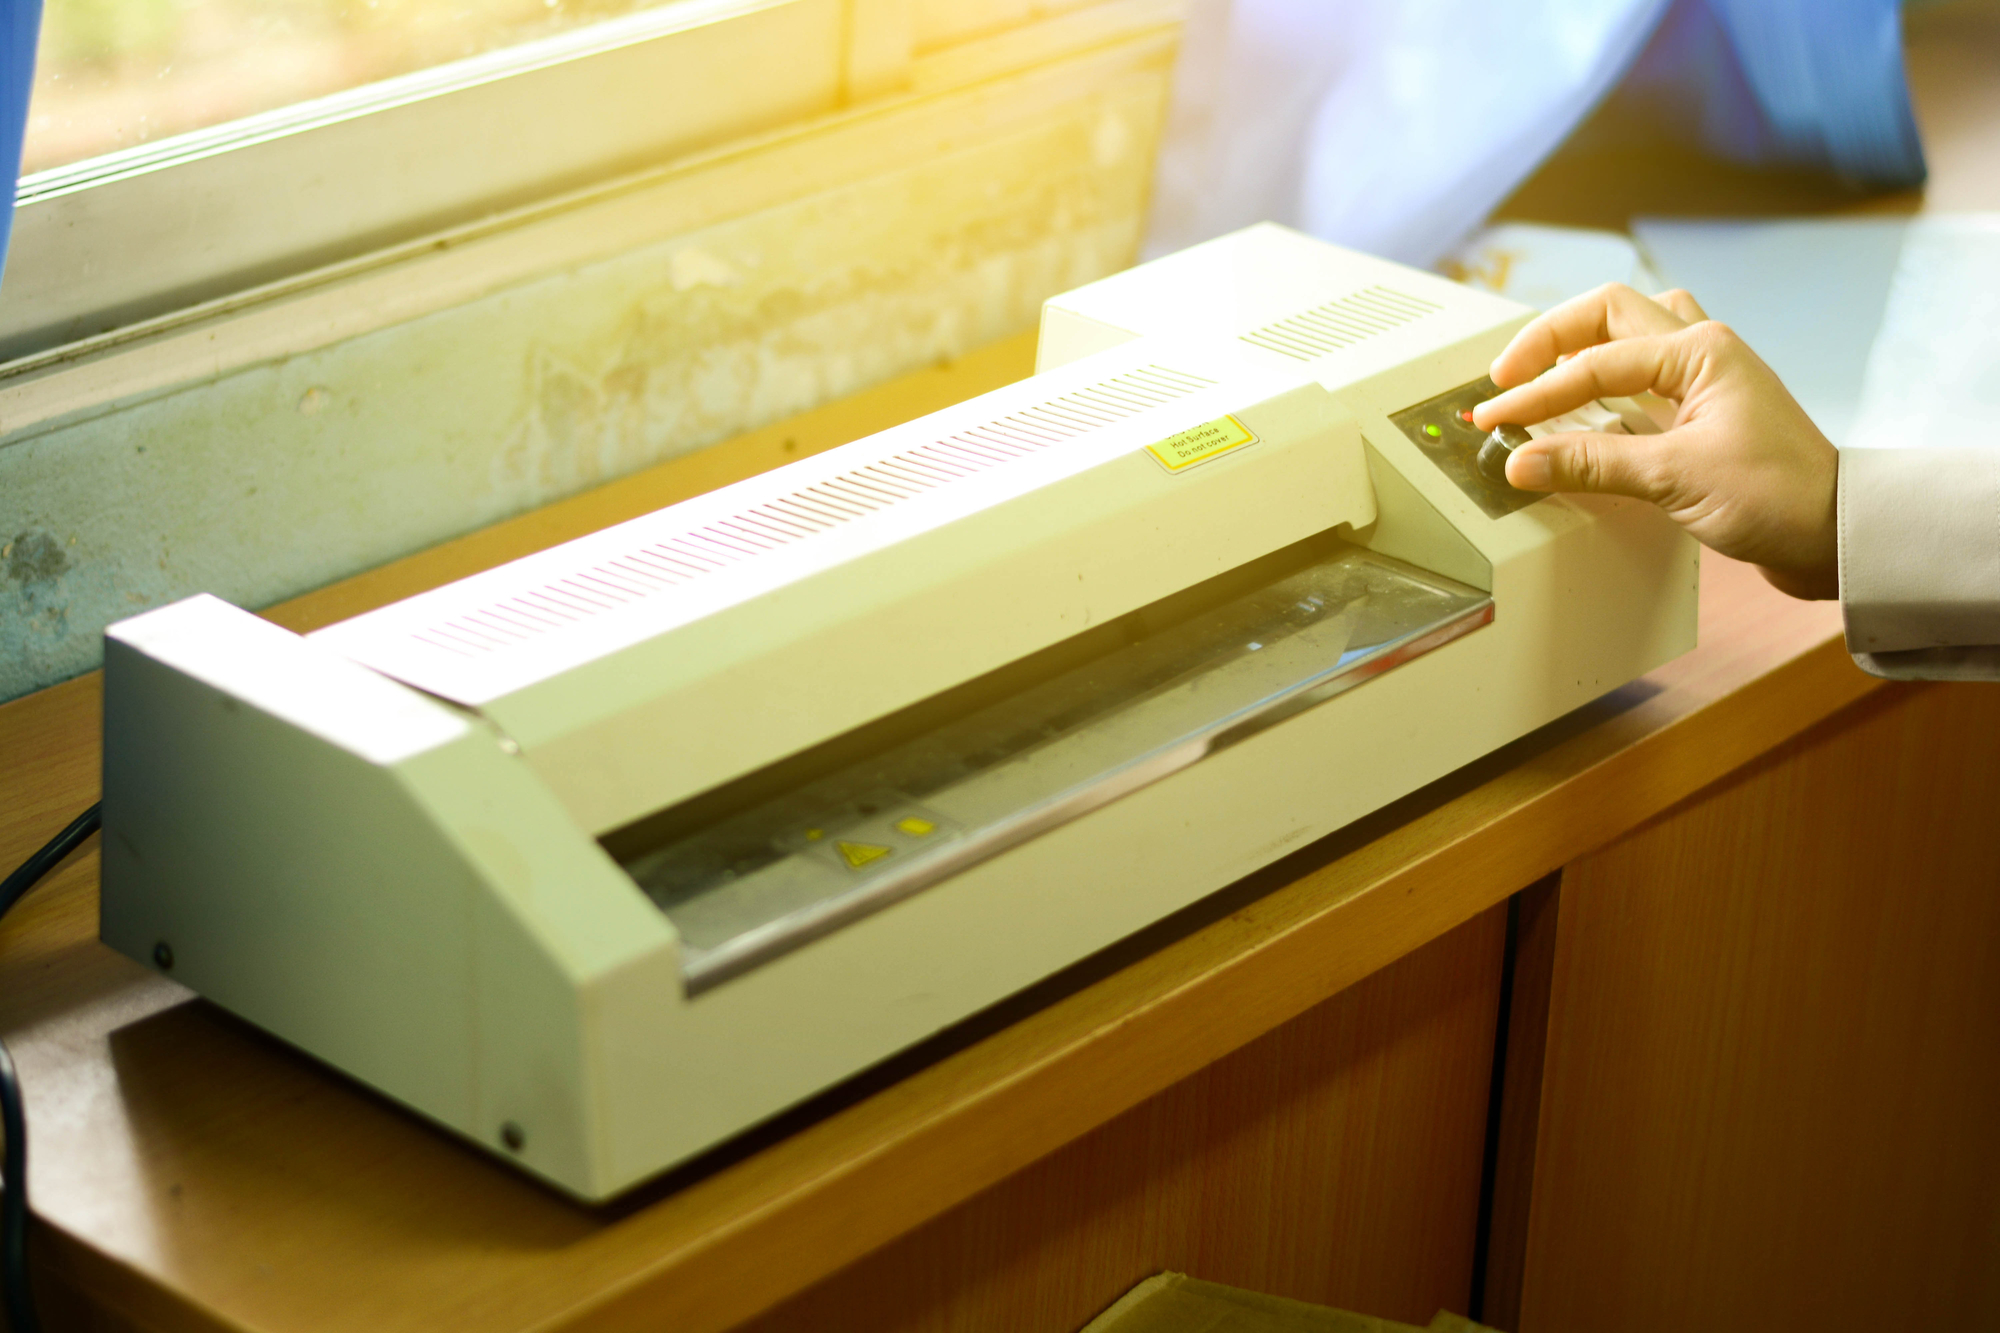
- Choose the Right Laminator: Begin by selecting a laminator suitable for your sticker’s material. If you’re working with heat-sensitive stickers, a cold laminator works best. For all other materials, a thermal laminator should suffice.
- Prepare: Next, ensure your sticker is clean. Any dirt, grease, or dust will become permanently trapped during lamination, so it’s crucial your stickers are clean.
- Place: Now, carefully place your sticker onto the laminating pouch, ensuring it is centered and straight. Keep a small gap between the sticker and edges of the pouch to prevent overflowing adhesive after heating.
- Laminate: Feed the edge of the pouch into your laminator. The machine will gradually pull the pouch through. If you’re using a thermal laminator, select the correct heat setting.
- Cool Down: After the laminated sticker comes out of the other side, allow it some time to cool down. Try to avoid touching the laminated surface immediately post the process as it could mar the finish.
- Trim: Once cooled, use a pair of scissors or a paper cutter to trim the excess lamination. Leave a tiny edge of laminate around your sticker to keep it sealed and safe.
How to Laminate Stickers with a Cricut
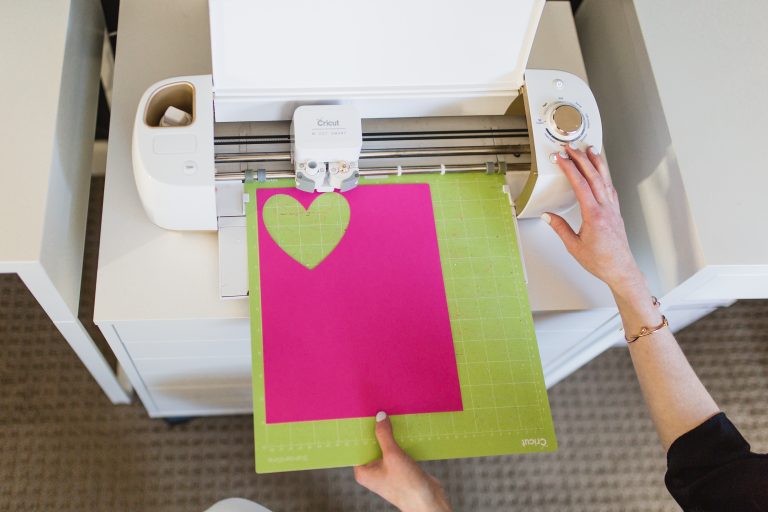
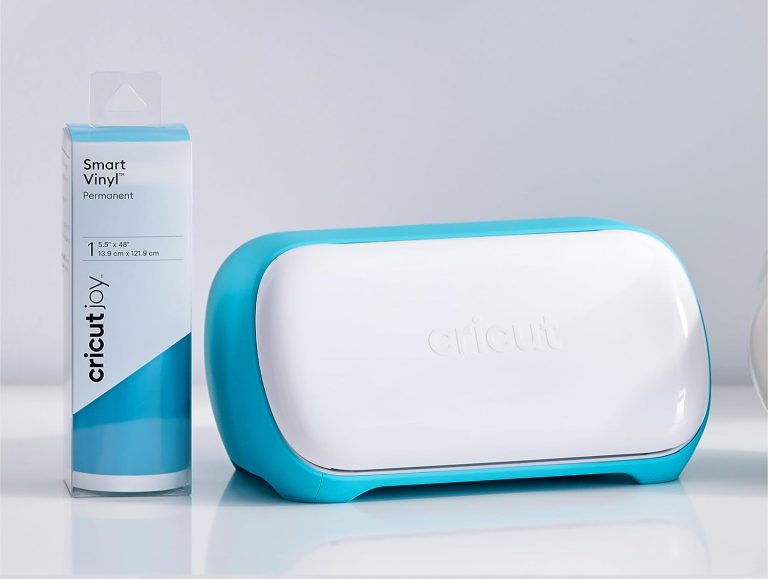
Cricut is a popular alternative to conventional laminators, offering home enthusiasts convenient versatility in crafting projects, including sticker lamination. One notable benefit of using a Cricut to laminate stickers is its precise cutting feature, although the initial investment may be higher than with a standard laminator.
Step-by-step Guide to Laminating Stickers using a Cricut:
- Begin by designing your sticker on the Cricut Design Space, ensuring that you are satisfied with its size and appearance.
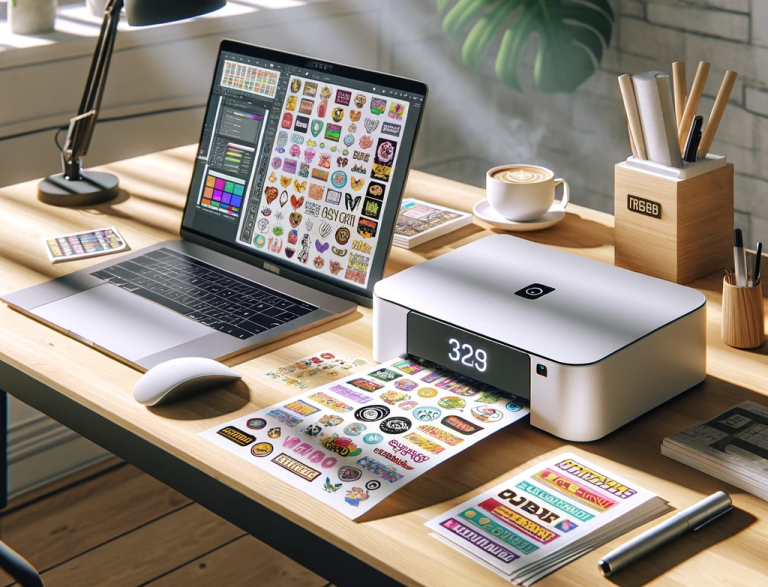
- Next, select the “Print then Cut” option and print your design using any ordinary printer.
- Secure your printed sticker sheet onto the Cricut mat, placing a laminating sheet over the stickers.
- Set your Cricut to the laminate setting and let it do its job, cutting and laminating your stickers with impeccable precision.
- Lastly, remove your finished product from the mat and enjoy your laminated stickers.
Using a Cricut can also make your laminated stickers waterproof, greatly extending their lifespan by offering additional protection against everyday wear and tear.
Important Tips to Remember While Laminating Stickers
It is critical to follow certain guidelines to ensure a smooth lamination process. Being careful to align your stickers and lamination sheets properly will prevent undesirable results. Prior to laminating, ensure your stickers are printed properly without any smudging. Post-lamination, let your stickers set for a little before peeling or using them. Caution against rushing the process can prevent potential damage to your stickers.
Common Questions About Laminating Stickers
Most stickers can be laminated. However, the suitability may depend on the sticker’s material and the type of laminator used.
Yes, laminating stickers helps make them more durable, including being water-resistant, especially when you use a sufficient seal.
Using a plastic card (or a credit card), apply gentle pressure to smooth out the bubbles. Always start from the middle and push towards the edges.

