How to Make Car Decals With a Cricut Machine
Decals have quickly become a popular tool for personalizing and adding a unique touch to cars. In this blog post, we are going to explore a simple but efficient method of making car decals with a tool called Cricut. Stick with us as we delve into what a Cricut is, how it can be used to make car decals, and the kinds of materials best suited for this.
What is a Cricut?
Cricut is a brand of cutting machines that can be used for a wide range of crafting projects. Since its launch in 2006, Cricut Inc. has offered a variety of models including the original Cricut Personal Electronic Cutter, the Cricut Expression, the compact Cricut Mini, and the latest Cricut Maker and Cricut Explore family. These machines use software and designs which you can manipulate to your preference, then it cuts the designs into your chosen material.
Can You Use a Cricut to Make Car Decals?
Yes, you can use a Cricut to make car decals. It excels in making intricate and precise cuts that manual cutting tools may not achieve. While decal creation can be done by hand using an exacto knife on vinyl sheets, a Cricut machine makes the process much easier, more efficient, and extremely accurate. Plus, it allows for replicating designs easily, unlike manual methods.
What Material Do I Need?
To make car decals with a Cricut, your best bet is vinyl. Particularly, you’ll need adhesive vinyl, which essentially is a sticker and adheres to the car’s surface. Oracal 651, considered a premium vinyl, is a popular choice due to its durability and wide color selection. However, it may be a bit costly compared to other options like Oracal 631, which is still a good alternative but lacks in outdoor durability. The choice would depend on the look you’re going for and your budget.
Types of Vinyl for Car Decals
There are several types of vinyl that can be used to make car decals, including adhesive vinyl, heat transfer vinyl, and static cling vinyl. Each type of vinyl has its own unique qualities, making it suitable for different kinds of car decal projects.
Adhesive vinyl is a go-to for car decals because it’s durable, waterproof, and versatile. Its key feature is its strong adhesive backing which holds up well against the elements, making it ideal for outdoor use. Heat transfer vinyl, on the other hand, is not a typical choice for car decals. It’s mostly used for fabric projects due to its ability to withstand washing and drying. However, it could be used for unique car decal designs involving heat pressing. Lastly, static cling vinyl is perfect for temporary or reusable decals. It doesn’t use an adhesive but clings to smooth surfaces like glass, making it easy to remove and reposition.
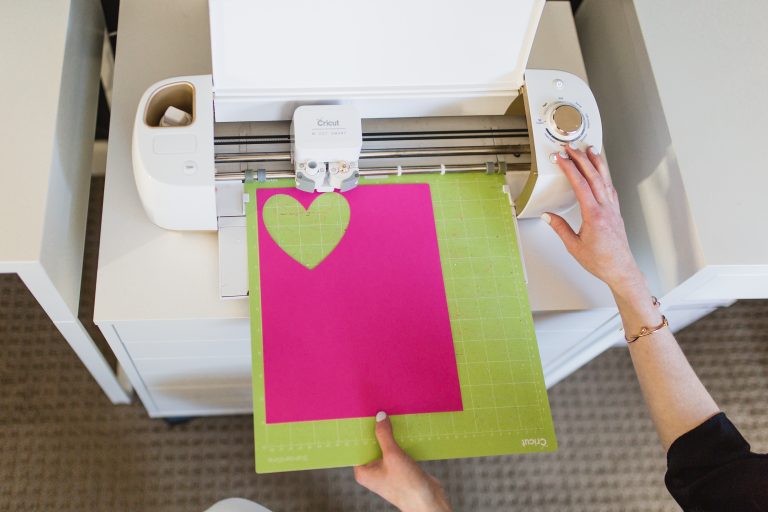
The Best Cricut Machine for Car Decals
The standout machine for creating car decals is the Cricut Maker. It’s an excellent choice primarily because of its superior cutting performance. It features an Adaptive Tool System that allows it to cut a wide range of materials, including all types of vinyl used for car decals. It can also handle intricate details, which is invaluable when you’re creating complex decal designs.
What gives the Cricut Maker an edge over other Cricut machines, such as the Cricut Explore Air 2 or Cricut Joy, is its versatility. While other models can handle vinyl and a handful of materials, the Maker can work with over 300 different materials. This means that beyond car decals, you can venture into a wide range of DIY projects. Moreover, the Maker has more pressure settings, which ensures cleaner and more precise cuts. This high-end performance makes the Cricut Maker the best option for car decals.
How to Make Car Decals with a Cricut Machine
- Setting up the Cricut Machine: To start, you’ll need to set up your Cricut machine. Following the user manual, correctly assemble the machine, ensuring it’s plugged into a power source and connected to your computer or device.
- Choosing your decal design: Next, decide on the decal design you’ll be using. You can create a unique design using Cricut Design Space or select a pre-made design from the Cricut library.
- Loading the vinyl into the Cricut machine: Once you’ve settled on a design, you’ll need to load the vinyl into the Cricut machine. Firmly adhere the vinyl to your mat and carefully align it with the guides to ensure it loads correctly.
- Cutting the vinyl: Next, the Cricut machine will cut the vinyl according to your design. Be sure to check your machine’s settings to ensure the cut depth and pressure are right for the thickness of your vinyl.
- Applying the transfer tape: After the cutting is completed, it’s time to apply the transfer tape. This will help transport your decal from the vinyl backing to your car without damaging the design.
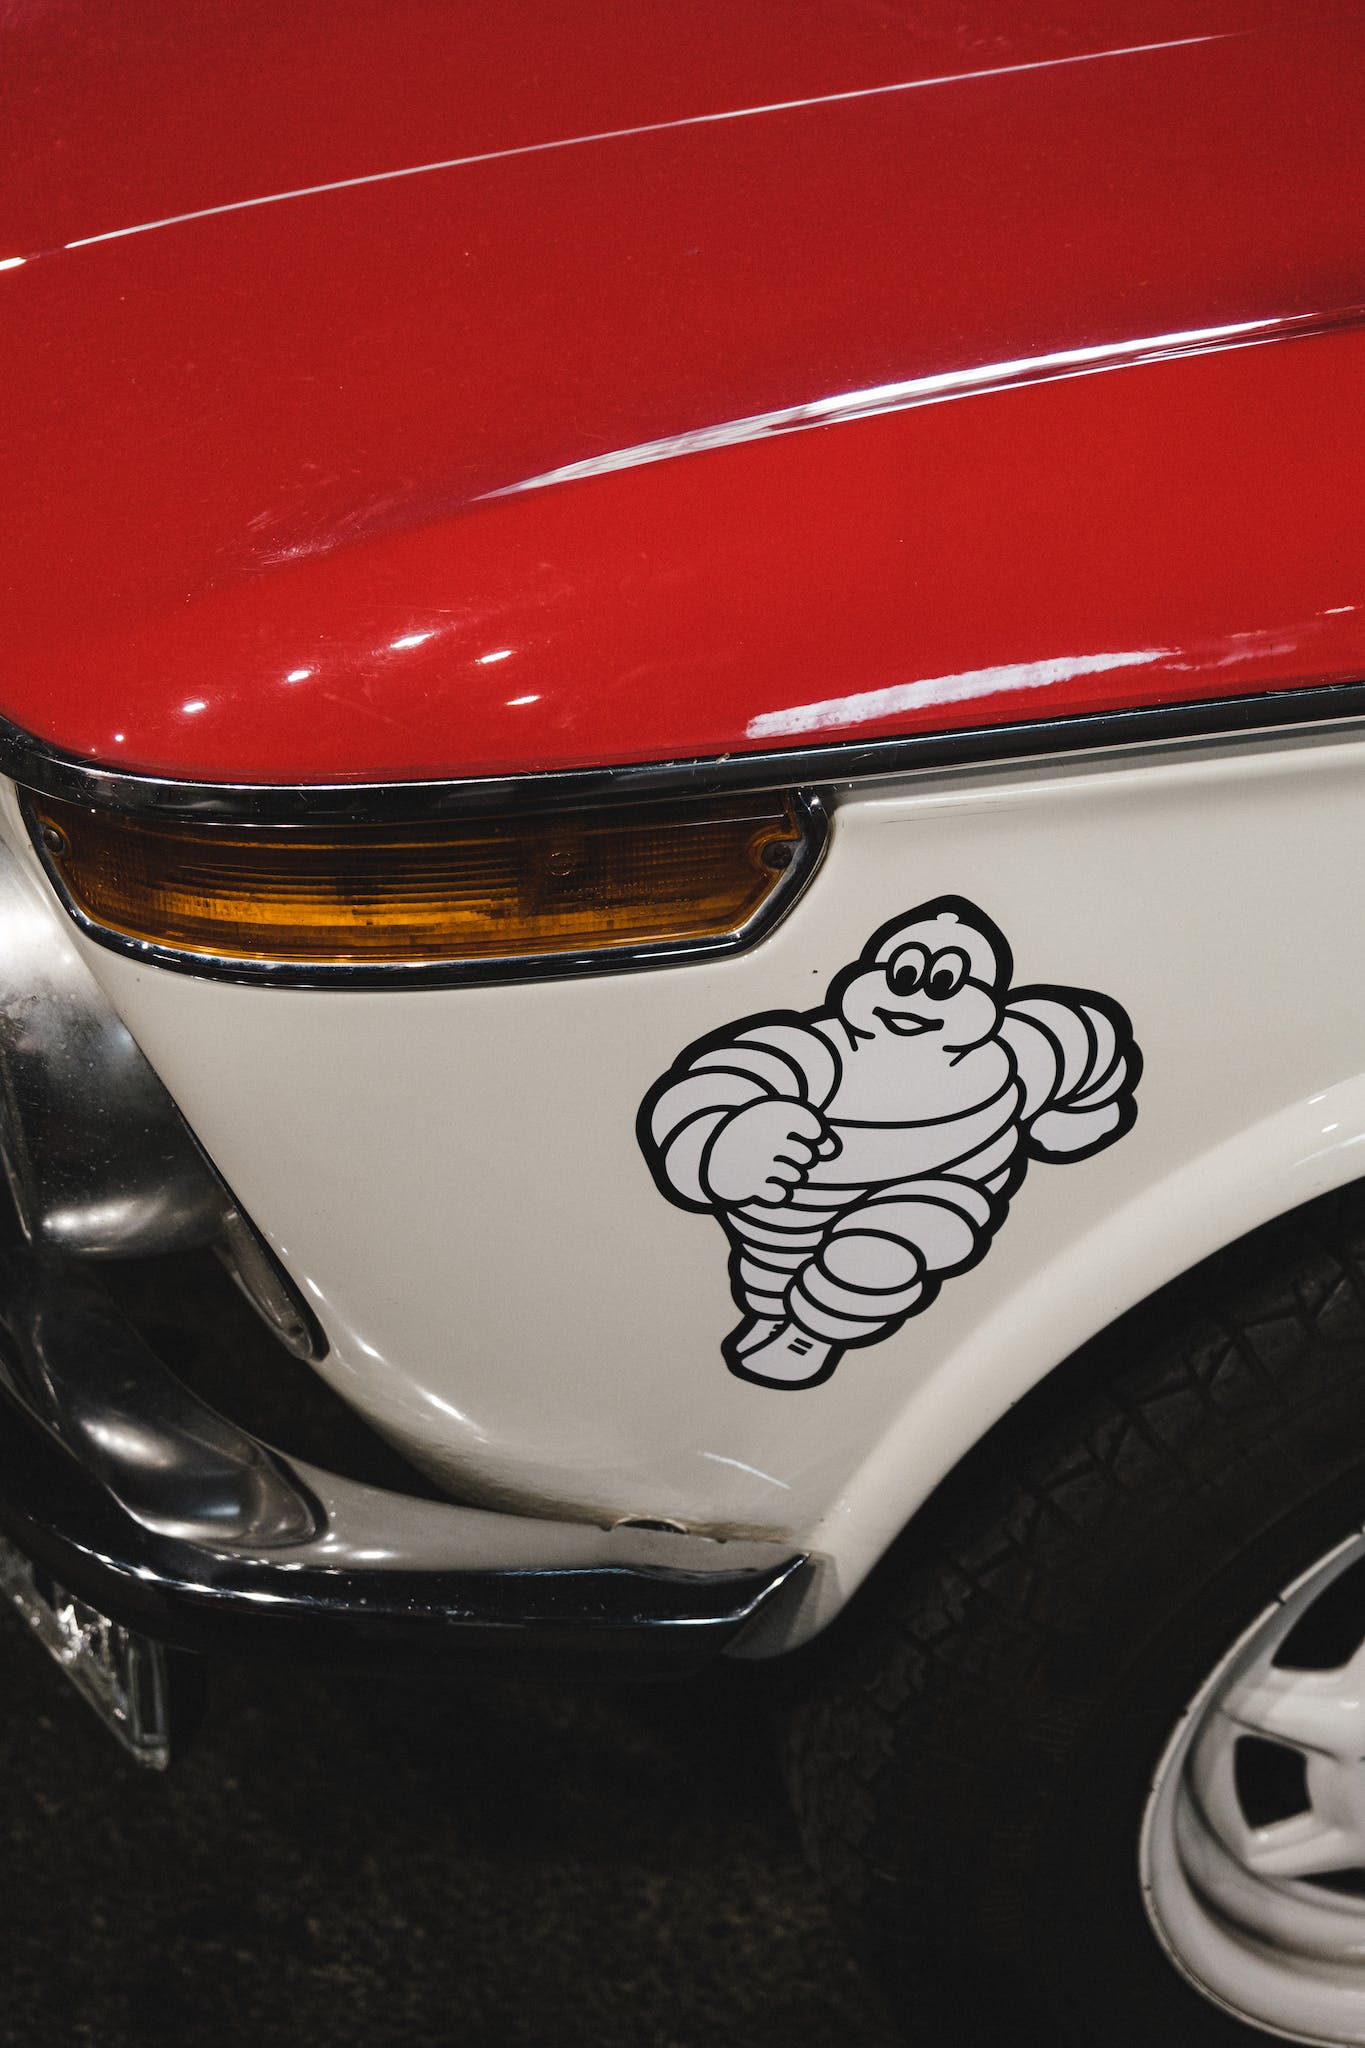
- Applying the decal to the car: Finally, it’s time to apply your decal to your car. Clean the area you’ve chosen for your decal, peel off the transfer tape with the decal stuck to it, and carefully apply it to your car.
How to Make Large Car Decal with Cricut
Creating larger decals with a Cricut machine requires similar steps as smaller ones. However, you’ll need to take special care during application to avoid bubbles or wrinkles. For large designs, it’s advisable to cut the design into sections, apply one section at a time, and gradually smooth it onto your car’s surface. Potential challenges might be managing the larger designs and ensuring they align perfectly, which can be overcome by carefully planning and marking your car prior to application.
Tips and Tricks for Making the Best Car Decals with a Cricut
Using a Cricut to create car decals can be an enjoyable and creative venture. Make sure to clean your car’s surface thoroughly before application to ensure the decal adheres properly. If you’re experiencing issues with your designs, try double-checking your machine settings or troubleshooting with guides available online.
Remember, creating the perfect decal takes practice and creativity, so don’t be afraid to experiment! If you have any thoughts, questions, or need further advice, feel free to drop a comment.