What Are Die Cut Stickers? A Comprehensive Guide
Die-cut stickers have captured the imagination of creatives, marketers, and DIY enthusiasts alike. But what exactly are these unique stickers, and why are they so popular? This article dives into the world of die-cut stickers, exploring their distinctive features and the myriad of ways they can be utilized. Whether you’re a business looking to boost your branding or an individual seeking a creative outlet, understanding die-cut stickers can open up a world of possibilities.
What Are Die-Cut Stickers?
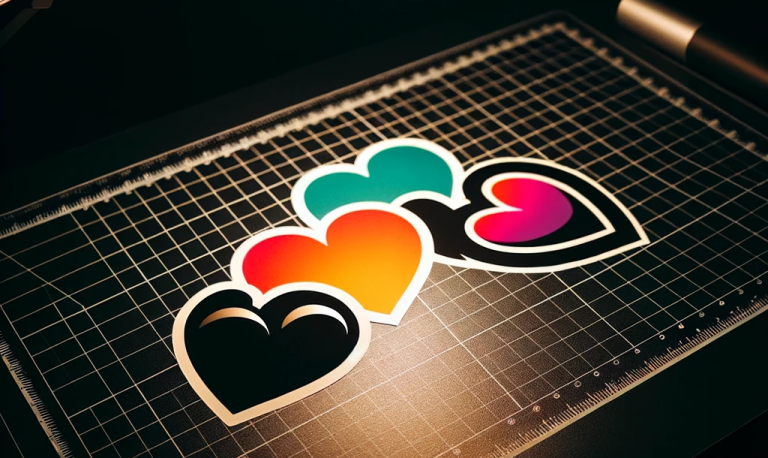
Die-cut stickers are a special type of sticker cut precisely to the shape of the design, leaving no excess backing material. This cutting process involves a die, or a custom-shaped cutter, tailored to the sticker’s design. The result? A sticker that outlines the design perfectly, offering a more professional and aesthetically pleasing look. These stickers stand out for their precision, versatility, and the ability to fit any design, no matter how intricate.
What to Do with Die-Cut Stickers?
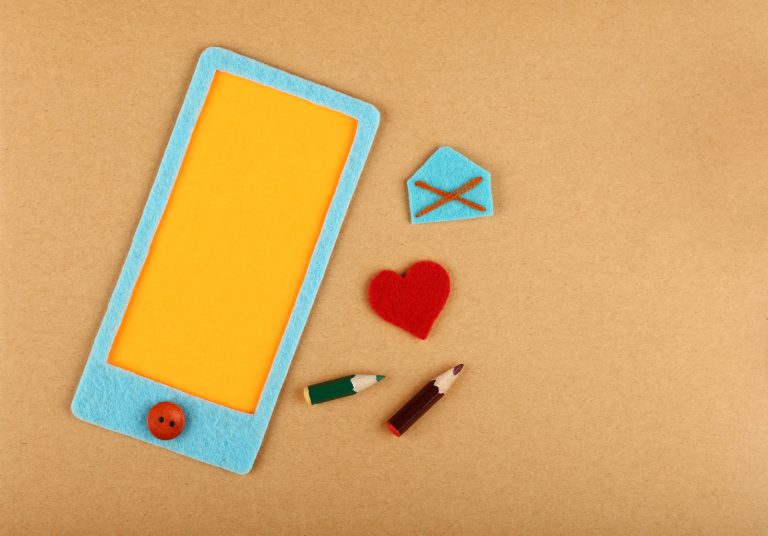
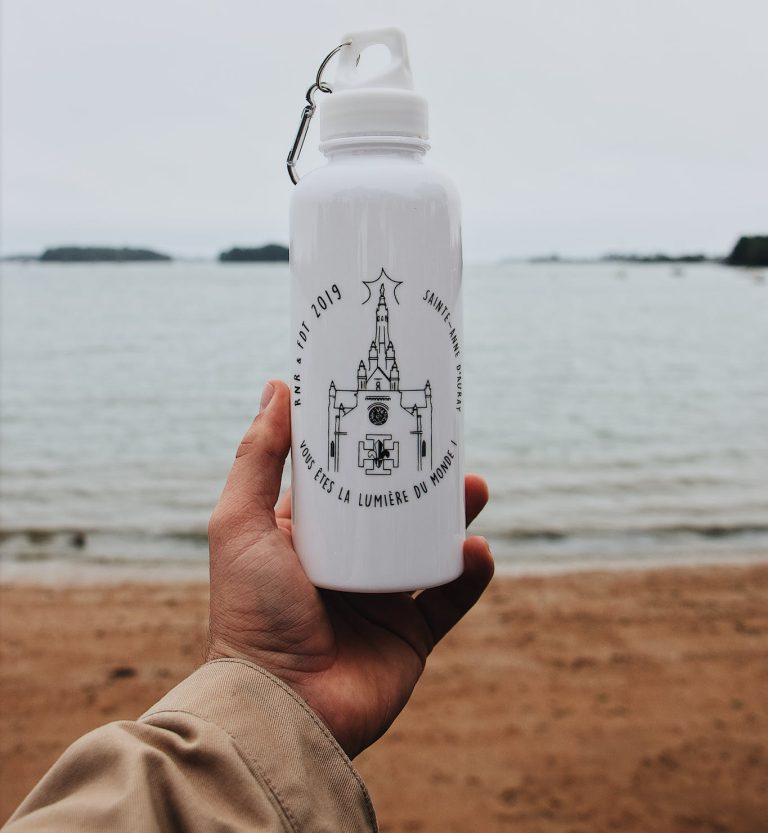
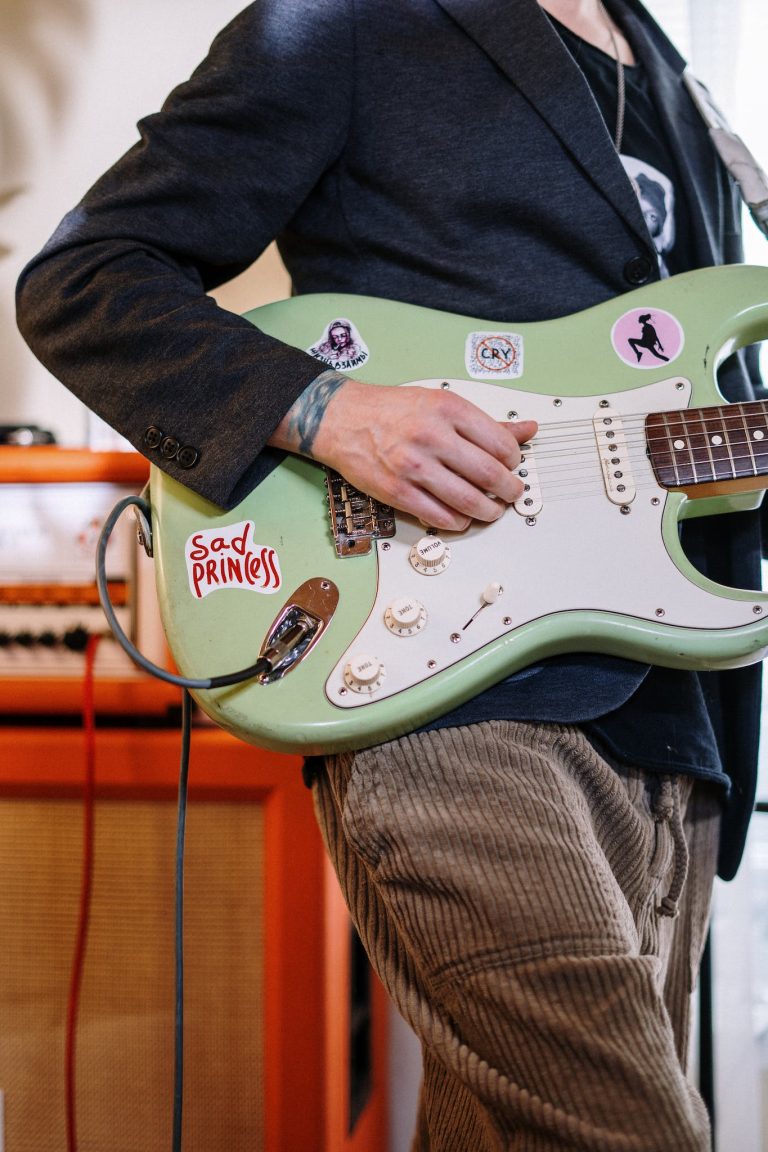
Die-cut stickers aren’t just stickers; they’re a versatile tool for creativity and branding. From personalizing laptops and water bottles to branding packaging and products, the possibilities are endless. They’re perfect for adding a personal touch to your belongings or giving a professional edge to your business’s marketing materials. Whether it’s for decoration, identification, or promotion, die-cut stickers can enhance virtually any item with a unique, custom flair.
Benefits of Die-Cut Stickers
- Durability and Longevity: Die-cut stickers are known for their resilience and ability to withstand environmental elements, making them ideal for long-term use both indoors and outdoors.
- Customization and Uniqueness: Each sticker can be tailored to specific designs, allowing for unique branding opportunities and personal expression that standard stickers can’t match.
- Versatility in Design and Shape: The precision of the die-cutting process means these stickers can be created in any shape or design, offering limitless creative possibilities.
- Cost-Effectiveness: Despite their custom nature, die-cut stickers are surprisingly affordable, especially when ordered in bulk, making them a cost-efficient option for various needs.
- Suitability for Both Personal and Business Purposes: Whether for personal projects or business branding, die-cut stickers offer a high-impact, versatile solution for a wide range of applications.
Vinyl vs. Die-Cut Stickers: Understanding the Difference
Vinyl stickers are defined by their material; they’re made from vinyl, a durable and weather-resistant plastic. This makes them ideal for outdoor use, as they can withstand elements like rain, sun, and snow. Vinyl stickers are popular for their longevity and can come in various shapes and sizes.
The key difference between vinyl and die-cut stickers lies in the terminology: “vinyl” refers to the material, while “die-cut” refers to the cutting process. Die-cut stickers can actually be made from vinyl material, cut to the exact shape of the design, offering a custom look. This means you can have the durability of vinyl with the personalized shape of die-cutting. In contrast, standard vinyl stickers are typically cut in basic shapes like circles or rectangles and may not offer the same level of customization in shape.
When considering pros and cons, vinyl stickers’ main advantage is their durability and suitability for outdoor use, regardless of shape. They’re a go-to for general-purpose stickers, especially when longevity is a priority. Die-cut stickers, while they can be made of vinyl for durability, stand out for their custom shapes, aligning perfectly with unique designs. This makes them ideal for more personalized projects or branding efforts where the sticker’s shape contributes to its impact. However, this custom shape can come with a slightly higher cost and production time, especially for intricate designs.
Die Cut vs. Kiss Cut: What’s the Distinction?
Kiss-cut stickers differ from die-cut stickers primarily in the cutting process. While die-cut stickers are cut through both the sticker and backing material, kiss-cut stickers are only cut through the sticker layer, leaving the backing intact. This results in a border around the sticker, making it easier to peel and offering additional design space on the backing.
The choice between die-cut and kiss-cut stickers often boils down to usage and personal preference. Die-cut stickers are ideal for handing out individually, as they offer a clean, professional look with their precise edges. Kiss-cut stickers, on the other hand, are perfect when you need to include additional information or branding on the sticker backing or if you prefer an easier peeling process. The decision also depends on the desired aesthetic and the practicality of sticker application in your specific context.
What Are Die-Cut Stickers Used For?
Die-cut stickers find their place in a multitude of applications, transcending industries and personal projects. They are extensively used in marketing and promotional efforts, offering businesses a creative and eye-catching way to showcase their brand. From customizing packaging to being given away as branded merchandise, these stickers serve as powerful tools for brand reinforcement. Industries ranging from retail to tech to food and beverage frequently leverage die-cut stickers for their versatility and visual appeal. They offer a unique way to make a brand stand out, whether it’s on product packaging, promotional materials, or as part of an interactive marketing campaign.
Do You Need a Special Printer for Die-Cut Stickers?
Creating die-cut stickers doesn’t necessarily require a specialized printer, but the right equipment can significantly enhance the quality and efficiency of the process. Most standard inkjet or laser printers can handle sticker printing, especially when using vinyl or other sticker-specific materials. However, for high-quality, durable stickers, a professional-grade printer capable of handling heavier materials and offering high-resolution printing is recommended. The choice of printer also depends on the volume and size of stickers you plan to produce; larger commercial printers are better suited for bulk orders. It’s important to consider factors like print quality, material compatibility, and the printer’s ability to handle continuous production when choosing the right printer for die-cut stickers.
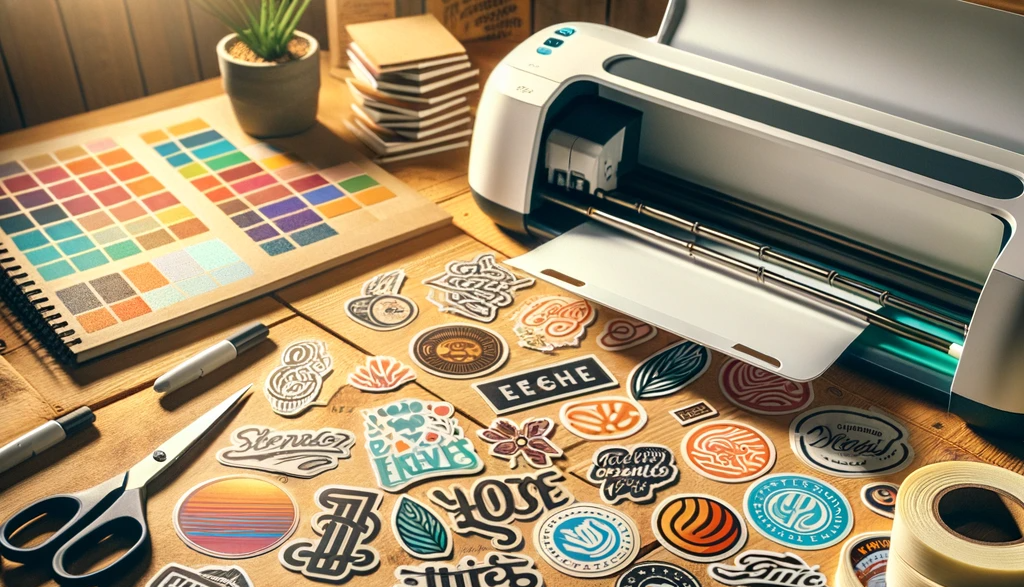
Can You Make Die-Cut Stickers with Cricut?
Cricut machines, particularly models like the Cricut Maker and Cricut Explore, are well-suited for making die-cut stickers. These cutting machines are designed to handle intricate cuts and can work with a variety of materials, making them ideal for sticker production. Here’s a simple guide to creating die-cut stickers with a Cricut:
- Design Preparation: Start by creating or uploading your sticker design in the Cricut Design Space software. Ensure your design is optimized for the size and shape of the sticker you want.
- Material Selection: Choose the appropriate sticker material, such as vinyl or sticker paper, and place it on the Cricut cutting mat.
- Machine Settings: Set up your Cricut machine with the correct blade and material settings to ensure precise cuts.
- Printing and Cutting: Print your design using a standard printer, then align the printed material in your Cricut machine for cutting.
- Weeding and Transfer: After cutting, weed out the excess material and use transfer tape if necessary to move the sticker to its final destination.
- Application: Carefully apply the sticker to the chosen surface, smoothing out any bubbles or wrinkles.
For successful Cricut sticker-making, ensure your design is compatible with the size and capabilities of your Cricut machine. Regular maintenance of the machine, like blade sharpening and mat cleaning, will also help in achieving the best results. Experiment with different materials and settings to find what works best for your specific sticker design, and don’t be afraid to utilize the online community and resources for additional tips and tricks.
Die-cut stickers offer a unique blend of creativity, versatility, and practicality, suitable for both personal projects and business branding. Whether you’re using a standard printer or a Cricut machine, the process of creating these stickers can be both rewarding and fun. This guide has covered the essentials from understanding what die-cut stickers are to the intricacies of producing them. Dive into the world of die-cut stickers and unleash your creativity, enhancing everything from personal items to business products with your custom designs. Remember, the world of die-cut stickers is as limitless as your imagination!