DIY Stickers: How to Make Stickers Without Sticker Paper
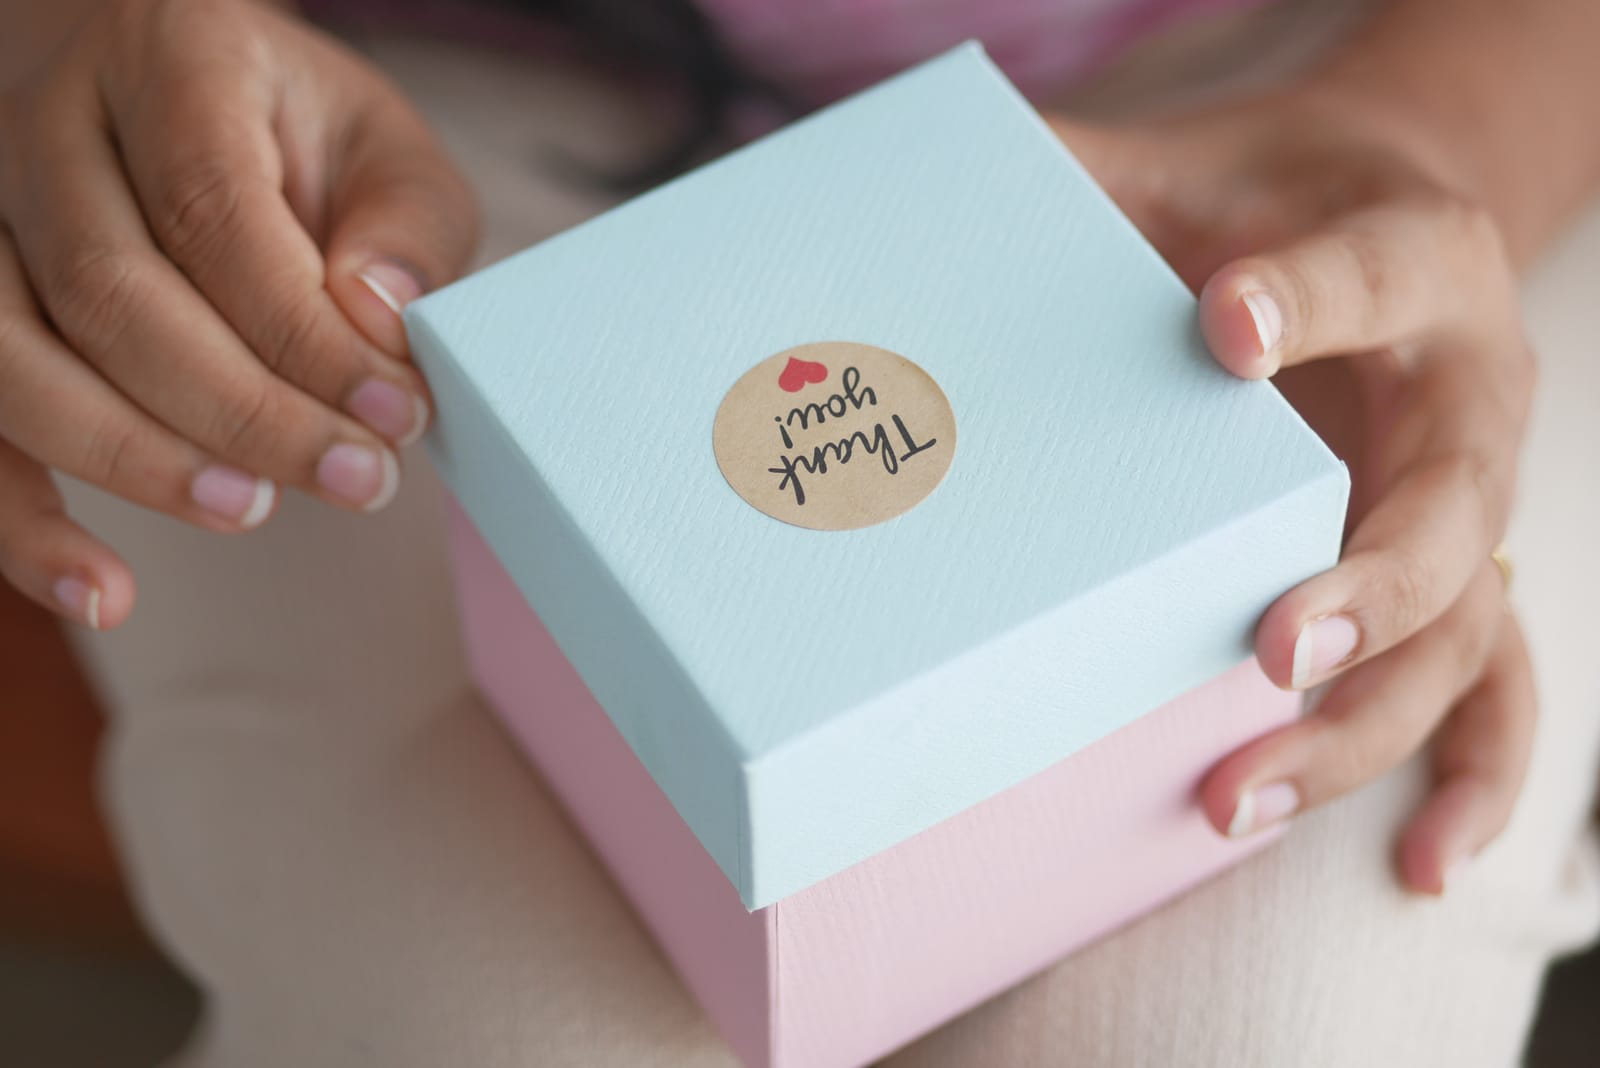
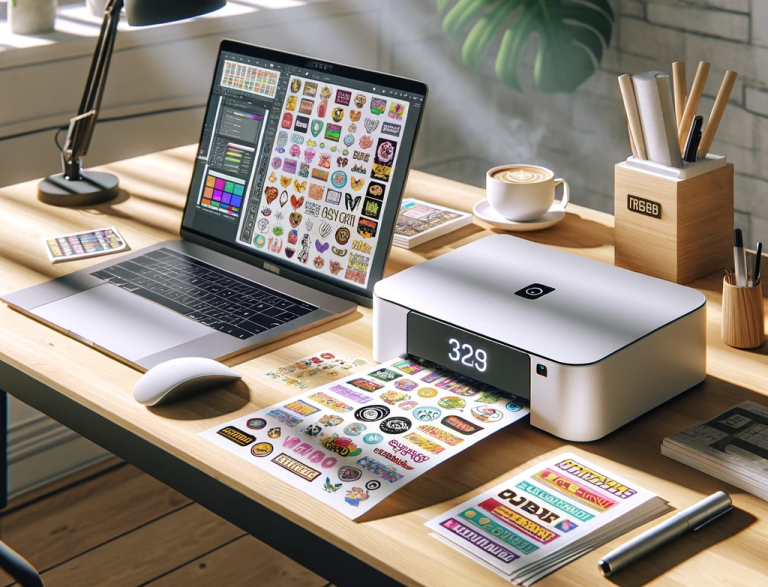
Making custom stickers can be a great way to personalize items, express your creativity, or promote a business or event. With DIY stickers, you can create unique designs that cannot be found elsewhere and save money in the process.
However, you may not always have sticker paper or a sticker printer at hand. In such situations, knowing how to make stickers using regular paper can be incredibly handy.
Benefits of Custom Stickers
Custom stickers offer numerous benefits. They provide a low-cost, creative avenue for branding, personal expression, and decoration. From jazzing up a laptop or phone case to promoting an event or business, custom stickers can add a unique, personal touch, while also serving as an effective tool for visibility and marketing.
Making Your Own Stickers Without Using Sticker Paper or Printer
One might think that sticker paper is a must-have for creating stickers, but that’s not the case. You can easily make your own stickers using ordinary printer or craft paper, some adhesive, and regular household items like clear tape or glue.
Why You Would Want to Make Stickers Without Sticker Paper
There are many reasons why one might want to make stickers without using sticker paper. You might not have sticker paper or a sticker printer on hand, or you might be looking for a more affordable option. DIY stickers also provide the freedom to create your desired sizes or shapes that pre-cut sticker paper might not offer.
Making Stickers Using Regular Paper
Creating stickers from regular paper doesn’t require much, just your creativity, some materials you most likely already have at home, and a little bit of time. Let’s take you through the step-by-step guide on how to make custom stickers using regular paper.
- Sketching or Printing your Design: Begin by drawing your desired design on a piece of regular paper or printing an existing design using a regular inkjet or laser printer. Ensure the image is clear, and the colors are bold enough to stand out.
- Preparing the Paper: After you have your design ready, prepare the paper by making sure it is clean and smooth. Any dirt, wrinkles, or creases could inhibit the adhesion process or distort your design.
- Applying the Adhesive: Next, apply a layer of adhesive on the back of your design. This can be a glue or a sticky tape that can easily adhere to the paper and, eventually, to the surface where you want to stick your sticker.
- Protecting the Design with Clear Tape or Glue: After the adhesive is applied and dried, protect your design by covering the front of your sticker with a piece of clear tape or a layer of clear-drying glue. This will provide a shiny, glossy finish and make your sticker more resistant.
- Cutting the Sticker to Shape: Lastly, cut out your sticker using scissors or a craft knife. You can cut the sticker into the shape of your design, or you can leave a small border around the edge for extra asthetic appeal. Finish off by smoothing flat any tape or glue bubbles.
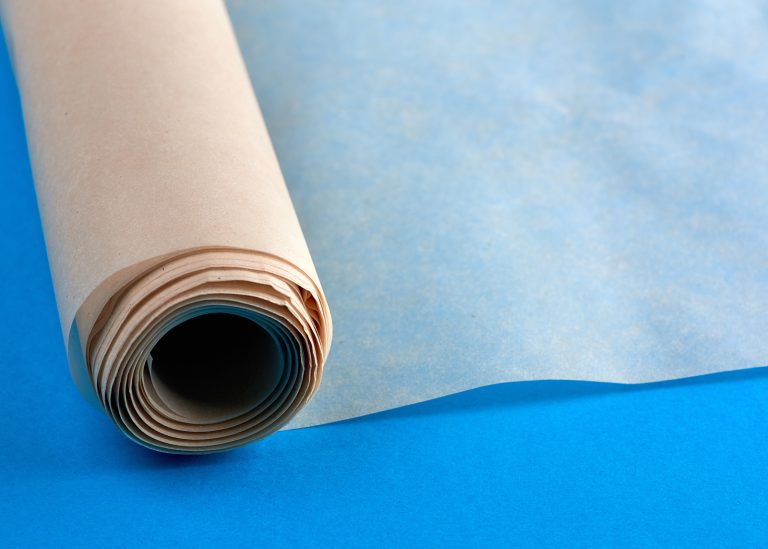
How to Make Stickers Out of Parchment Paper
Making stickers with parchment paper is a fun and easy DIY project. All you need are a few simple items like a design image, parchment paper, scissors, glue, or clear tape. Let’s walk through each step on how to make your own sticker.
- Drafting or Printing your Design: Begin by selecting the design of your sticker. The design can be a doodle on paper, a printed picture, or a digital design file. Make sure your design is scaled appropriately for the size of the sticker you want.
- Prepping the Parchment Paper: Take a sheet of parchment paper and overlay it on your design. The parchment paper should be larger than your design to give room to work around it. Trimming will occur at a later stage.
- Using Clear Tape as an Adhesive: Apply a strip of clear tape on top of your design on the parchment paper. Ensure complete coverage to keep the design intact and to prevent peeling.
- Trimming the Sticker: Lastly, trim down the sticker using scissors. Try to leave at least 3mm around the design so that the adhesive will surround the paper.
Other Ways to Make Stickers at Home
If you want to try some alternative ways to make stickers, here are three other methods that might tickle your interest.
Using Wax Paper and Double-Sided Tape
This method involves placing your sticker design face down on a piece of wax paper and then applying double-sided tape on top. Once you peel the wax off, you’re left with a DIY sticker that’s ready to use.
Making Stickers Using Contact Sheets
Contact sheets are a great alternative to “sticker” paper. Simply apply adhesive to the back of the contact sheet covering your design, then cut out and apply your sticker.
DIY Vinyl Stickers with Packing Tape
By applying packing tape over your designs and then peeling it off, you can create a vinyl-like effect. This not only protects your design, but also gives a glossy finish to your stickers.
Tips and Tricks for Making Your Own Stickers
Crafting your homemade stickers without sticker paper can be an exciting and rewarding adventure, especially when armed with correct tips and techniques. Firstly, for flawless cutting, choose a pair of sharp scissors or a precision craft knife, ideally with non-stick blades for cleaner cuts and less adhesive buildup.
Secondly, selecting the right adhesive is key. Look for waterproof, tear-resistant, and UV protected adhesives to ensure your stickers’ long-lasting durability.
Lastly, when it comes to printing your designs, choose a high-resolution image and adjust your printer settings to ensure the best quality. Opt for the maximum DPI setting and select ‘high quality’ output in your printer preferences.
Making your own stickers is a wonderfully creative way to personalize your items or make beautiful gifts. However, bear in mind that achieving perfection might take a few successful attempts and perhaps even a couple of sticker mishaps. The inconveniences are minor when compared to the immense pride and joy you’ll experience when seeing your unique stickers come to life. Keep exploring, enjoy the process, never get discouraged by the challenges you might face, and you’ll become a sticker-making pro in no time!
We would love to hear about your sticker-making journey! Feel free to share your experiences, the results of your DIY sticker projects, and any challenges you may have faced in the comment section below.

