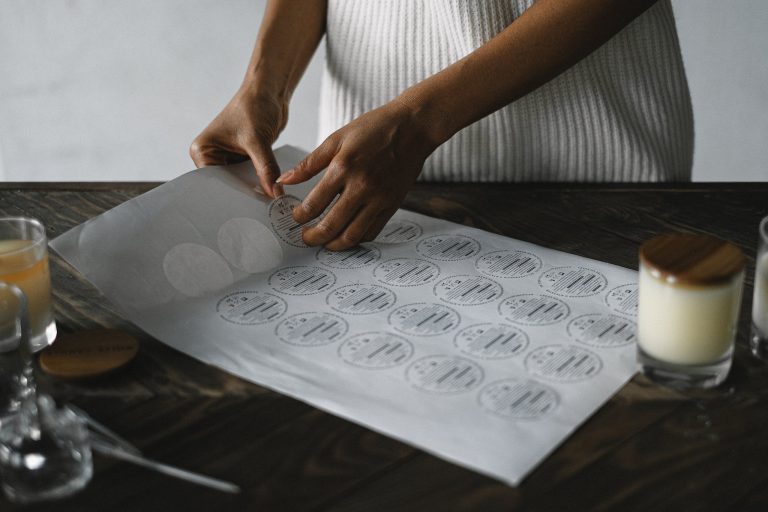
Choosing the Best File Type for Sticker Printing
When it comes to sticker printing, selecting the right file type is a crucial step in ensuring the quality and clarity of your stickers. In this comprehensive guide, we will explore the significance of choosing the correct file type and delve into how this choice can significantly impact the outcome of your sticker printing project.
File Types for Sticker Printing
When it comes to sticker printing, there are two main categories of file types: raster and vector formats. Understanding the differences between these formats is essential for making an informed decision about which one to use for your sticker design.
Raster vs. Vector File Formats
Raster formats and vector formats are the two primary categories of file types used in sticker printing. Let’s take a closer look at each of these formats to understand their characteristics and when to use them.
Explanation of Raster Formats (JPEG and PNG)
Raster formats, such as JPEG (Joint Photographic Experts Group) and PNG (Portable Network Graphics), are pixel-based image formats. These formats are composed of a grid of individual pixels, with each pixel containing information about color and brightness. Raster formats are commonly used for photographs and complex, detailed artwork. They excel in capturing the nuances of color and shading.
Explanation of Vector Formats (AI and SVG)
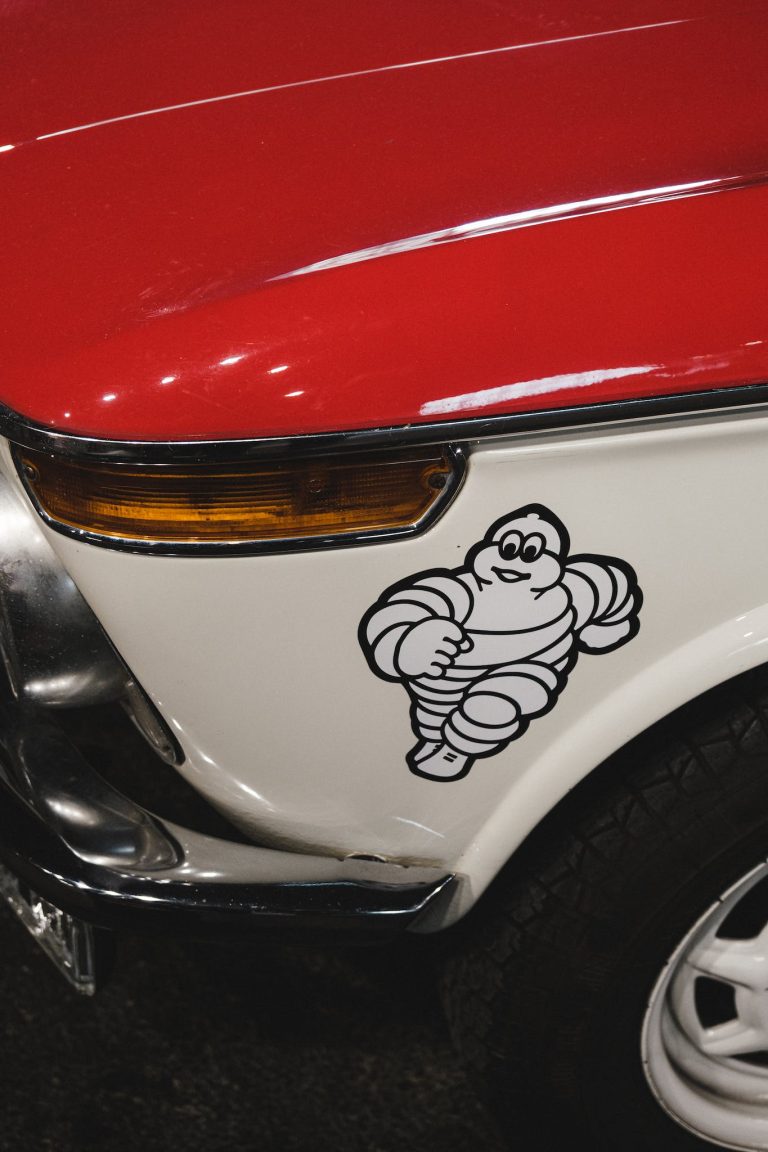
- Vector formats, such as AI (Adobe Illustrator) and SVG (Scalable Vector Graphics), are made up of mathematical equations that define shapes and lines. Unlike raster formats, vectors are resolution-independent, which means they can be scaled to any size without losing quality. Vector formats are ideal for simple, geometric designs, logos, and illustrations, where precision and scalability are essential.
Comparing Raster and Vector File Types for Sticker Printing
Now that we’ve introduced raster and vector formats, let’s explore the strengths and weaknesses of each type, helping you make an informed choice for your sticker printing project.
Pros and Cons of Raster Formats
Raster formats like JPEG and PNG have their own set of advantages and limitations when it comes to sticker printing. Understanding these can help you decide when to opt for raster formats in your projects.
Pros:
- Excellent for capturing intricate details and gradients.
- Commonly used for photographs and complex artwork.
- Wide compatibility with various design software.
- Cons:
- Fixed resolution limits scalability.
- Not ideal for large-format stickers.
- File size may become an issue with high-resolution images.
Pros and Cons of Vector Formats
Vector formats, such as AI and SVG, offer a different set of benefits and constraints. Familiarizing yourself with these aspects will aid you in choosing the right vector format for your sticker designs.
Pros:
- Resolution-independent; can be scaled without loss of quality.
- Perfect for simple, geometric shapes and logos.
- Small file sizes for easy storage and sharing.
- Cons:
- Less suitable for complex photographic or textured designs.
- May require vector design software expertise.
- Limited compatibility with certain software and printers.
Understanding the distinctions between raster and vector formats is the first step in determining which file type best suits your sticker printing needs. In the following sections, we’ll dive deeper into specific file formats and their suitability for different sticker projects.
Is PNG or JPEG Better for Printing Stickers?
When faced with the choice of using PNG (Portable Network Graphics) or JPEG (Joint Photographic Experts Group) for your sticker printing project, it’s crucial to grasp the strengths and limitations of each format.
Understanding PNG (Portable Network Graphics)
PNG is a popular format for sticker printing due to several key strengths. Firstly, it employs lossless compression, ensuring that your sticker design maintains its quality without any noticeable degradation. Additionally, PNG supports transparent backgrounds, making it the preferred choice for stickers with irregular shapes or when you want the background to be see-through. Moreover, PNG excels at rendering sharp edges and text, making it ideal for designs that involve a lot of text or intricate details.
Despite its merits, PNG does come with some limitations. PNG files tend to be larger in size, which may pose challenges for storage and file transfers, especially when working with numerous high-resolution images. Furthermore, PNG may not be the best choice for stickers with highly detailed photographs, as it’s primarily tailored for graphics, illustrations, and designs with sharp edges.
Understanding JPEG (Joint Photographic Experts Group)
JPEG is another commonly used format for sticker printing, particularly when it comes to photographic designs. It has distinct advantages and some limitations.
JPEG’s main strength lies in its high compression capabilities, as it uses lossy compression to significantly reduce file sizes while still maintaining good image quality. This makes it an excellent choice for stickers that feature complex visuals, such as photographs or images with gradients. Additionally, JPEG files enjoy widespread compatibility with printers and design software.
However, JPEG does have its limitations. The use of lossy compression means that there can be a loss of quality, especially when saving images at lower quality settings multiple times. It also lacks support for transparency, making it unsuitable for stickers with transparent backgrounds or intricate cutouts. Furthermore, compression artifacts can appear in highly detailed or text-heavy designs.
Choosing Between PNG and JPEG for Your Sticker Project
The decision between PNG and JPEG largely hinges on the specific requirements of your sticker project. If you prioritize a lossless format, require transparency, or need sharp edges in your design, and file size is not a significant concern, PNG is the better choice. Conversely, if you’re working with photographic designs, aiming to minimize file size, and can tolerate some quality loss, JPEG is the more suitable option.
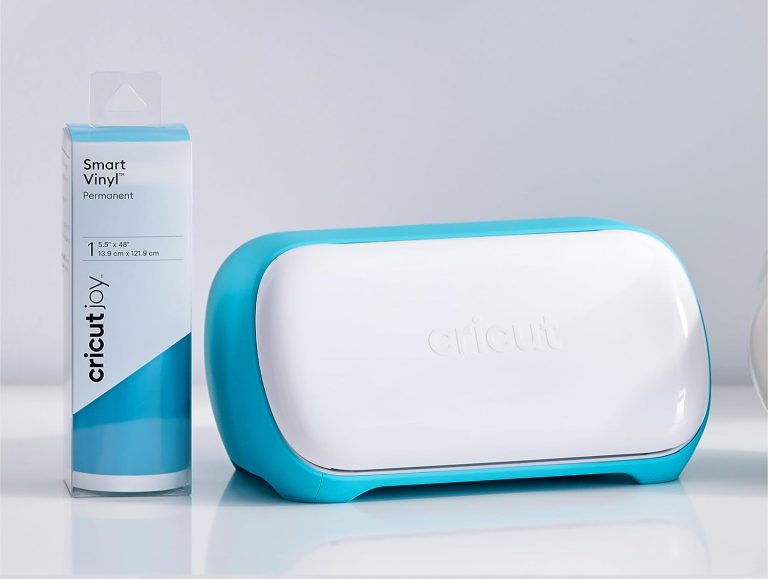
What File Type Is Best for Cricut Stickers?
Cricut cutting machines have specific requirements when it comes to file formats. Understanding these requirements is essential for a successful sticker cutting project.
Introduction to Cricut Sticker Cutting Machines
Cricut cutting machines are popular choices for creating stickers due to their precision and versatility. These machines use digital designs to precisely cut adhesive materials, turning your designs into stickers. To get started, you’ll need to know the compatible file formats for Cricut and how to optimize your files for the best results.
Compatible File Formats for Cricut
Cricut machines primarily work with vector file formats, such as SVG (Scalable Vector Graphics). SVG files are preferred because they allow for precise scaling without loss of quality. Additionally, Cricut Design Space, the software used with Cricut machines, also supports other common vector formats like DXF (Drawing Exchange Format). Understanding the compatibility of these formats with your Cricut machine ensures your designs are ready for cutting.
Optimizing Files for Cricut Sticker Cutting
Optimizing your sticker files for Cricut cutting involves several considerations. First, ensure your designs are in vector format to maintain sharpness and scalability. Second, make sure your designs are appropriately sized and positioned within the cutting area to minimize waste and ensure accurate cutting. Lastly, simplify complex designs to reduce cutting time and improve precision.
Recommended File Formats for Cricut Stickers
For the best results with Cricut sticker cutting, it’s highly recommended to use SVG files whenever possible. These files retain their quality regardless of scaling and are the most versatile for various sticker designs. If you’re working with software that doesn’t support SVG, DXF is a suitable alternative. By following these recommendations and optimizing your files accordingly, you’ll achieve excellent results when creating stickers with your Cricut machine.
What Is the Best File Size for Stickers?
Creating stickers with the ideal file size is crucial for achieving high-quality prints. Understanding the key aspects of resolution and DPI, determining the right file size, resizing and scaling your sticker files, and avoiding common file size mistakes are essential components in this process.
The Importance of Resolution and DPI
Resolution and DPI (dots per inch) are pivotal factors when it comes to sticker printing. DPI refers to the number of dots (pixels) per inch in your image. A higher DPI results in sharper and more detailed prints. For stickers, a standard DPI recommendation is 300 DPI. This means that there are 300 dots of color per inch, providing a high level of detail. It’s vital to comprehend the relationship between resolution and DPI and how they impact your stickers’ final appearance.
Determining the Ideal File Size for Your Sticker Design
Finding the perfect file size for your sticker design involves considering various factors. These include the intended sticker size, the printing method, and how your stickers will be viewed. To start, determine the physical dimensions (in inches or millimeters) of your sticker. For example, if you want a 3×3-inch sticker, you’ll need a file that’s 3×3 inches at 300 DPI for optimal quality. Keep in mind that larger stickers or those intended for outdoor use might require higher DPI values or specific dimensions. By evaluating these elements, you can make informed decisions about the dimensions of your sticker files to ensure they look their best.
Resizing and Scaling Sticker Files
In some instances, you might need to adjust the size of your sticker files to meet specific requirements. This could involve enlarging or reducing your designs while preserving their quality. To do this, use image editing software like Adobe Photoshop or GIMP. Start by opening your sticker design, then go to the “Image” or “File” menu and select “Image Size” or “Canvas Size.” Here, you can enter the new dimensions or scale percentage to resize your sticker while maintaining the DPI. Always ensure that the “Resample” option is set to “Bicubic” or “Bilinear” to maintain image quality.
Avoiding Common File Size Mistakes
To prevent disappointment with your printed stickers, it’s crucial to steer clear of common file size errors. One common mistake is excessive compression, which can result in loss of image quality. When saving your sticker files, avoid aggressive compression settings. Additionally, ensure that you’re using the correct DPI. Sometimes, people mistakenly set their designs to a lower DPI to reduce file size, but this sacrifices print quality. Finally, always start with a high-resolution source file. If you begin with a low-resolution image, you can’t magically increase its quality by simply increasing the DPI or dimensions. Starting with a high-quality source is key to achieving the best results in sticker printing. By being aware of these pitfalls, you can maintain the integrity of your sticker designs throughout the printing process.
Is PDF a Good File Format for Stickers?
PDF (Portable Document Format) is a versatile file format often used in various applications, but is it suitable for sticker printing? Let’s explore the specifics of using PDFs for stickers, from understanding the format to weighing its pros and cons, determining when it’s the right choice, and learning how to convert and export sticker designs to PDF.
Understanding PDF (Portable Document Format)
PDF is a widely recognized file format known for preserving document formatting and layout across different devices and platforms. It’s a versatile format that can encapsulate both text and images, making it suitable for various purposes. In the context of stickers, PDFs can store vector graphics, ensuring that your designs maintain their quality and integrity when shared or printed.
Pros and Cons of Using PDF for Stickers
PDFs offer several advantages for sticker printing, including their ability to preserve layout, fonts, and graphics. They are also highly compatible with different devices and software, making them a reliable choice for sharing designs with others. However, PDFs may not be the best option for complex, high-resolution photographic stickers, as they can result in larger file sizes.
When to Use PDF for Sticker Printing
PDFs are an excellent choice for sticker printing when you need to maintain the precise layout and design of your stickers. They are particularly useful when sharing sticker designs with others or when collaborating on projects. However, for sticker designs that heavily rely on photographic elements or have transparent backgrounds, other image formats like PNG or JPEG might be more appropriate.
Converting and Exporting Sticker Designs to PDF
To convert or export your sticker designs to PDF, you can use a variety of graphic design software programs. Common steps involve opening your sticker design in the software, going to the “File” menu, and selecting “Save As” or “Export.” From there, choose the PDF format and adjust any settings as needed, such as compression or image quality. Be sure to consider the intended use of the PDF, whether it’s for sharing electronically or for high-quality printing, and adjust the settings accordingly.
The choice of file type for sticker printing is a pivotal decision that directly influences the quality and outcome of your stickers. In this guide, we’ve covered essential aspects such as the differences between raster and vector formats, the strengths and limitations of popular formats like PNG, JPEG, AI, and SVG, and the significance of resolution, DPI, and file size in achieving the desired print results. We’ve also explored the role of PDFs in sticker printing and when to opt for this format.
When selecting the best file type for your sticker project, it’s crucial to align your choice with the specific requirements of your design and printing equipment. Whether you’re working with intricate illustrations, detailed photographs, logos, or other creative designs, the right file format can empower your project, ensuring that your stickers meet the highest standards of quality and clarity. So, as you embark on your sticker printing journey, remember that the right file format is your creative ally, enabling you to bring your vision to life with precision and impact.
Most Common Questions About Sticker File Format
For high-quality sticker printing, it’s recommended to use a DPI of 300. This resolution ensures sharpness and clarity in your stickers, especially for detailed or text-heavy designs.
No, JPEG doesn’t support transparency. For stickers with transparent backgrounds or intricate cutouts, consider using PNG or vector formats like SVG.
Yes, it’s advisable to work in the CMYK color mode for stickers, as it’s optimized for printing. However, design software often defaults to RGB, so remember to convert your file to CMYK before printing for accurate color representation.
To reduce file size while maintaining quality, consider using image compression techniques like JPEG compression, but be cautious not to over-compress, as it may result in a loss of image quality. Additionally, you can resize your design to smaller dimensions if it doesn’t require a larger print size.