How to Print Die Cut Stickers
Die cut stickers have surged in popularity, offering a unique and personalized way to express creativity. Tailored to fit exact designs, these stickers go beyond the traditional boundaries of standard shapes, allowing for intricate and custom outlines. This article is crafted for those eager to dive into the world of creating their own die cut stickers, whether they’re equipped with basic home printers or more advanced cutting tools. We’ll explore everything from design basics to the nitty-gritty of printing and cutting, catering to both beginners and seasoned crafters.
Understanding Die Cut Stickers
Die cut stickers are a step up from your average stickers, cut precisely to the shape of your design, rather than being limited to basic circles or rectangles. This custom cutting not only adds a professional touch but also allows for more creative freedom in design. Their appeal lies in this customization, as they can fit any shape, ranging from intricate logos to playful characters. More than just a means of expression, die cut stickers offer a tactile and visually appealing way to stand out, making them a favorite for personal projects, marketing materials, and artistic endeavors.
Can You Print Die Cut Stickers with a Regular Printer?
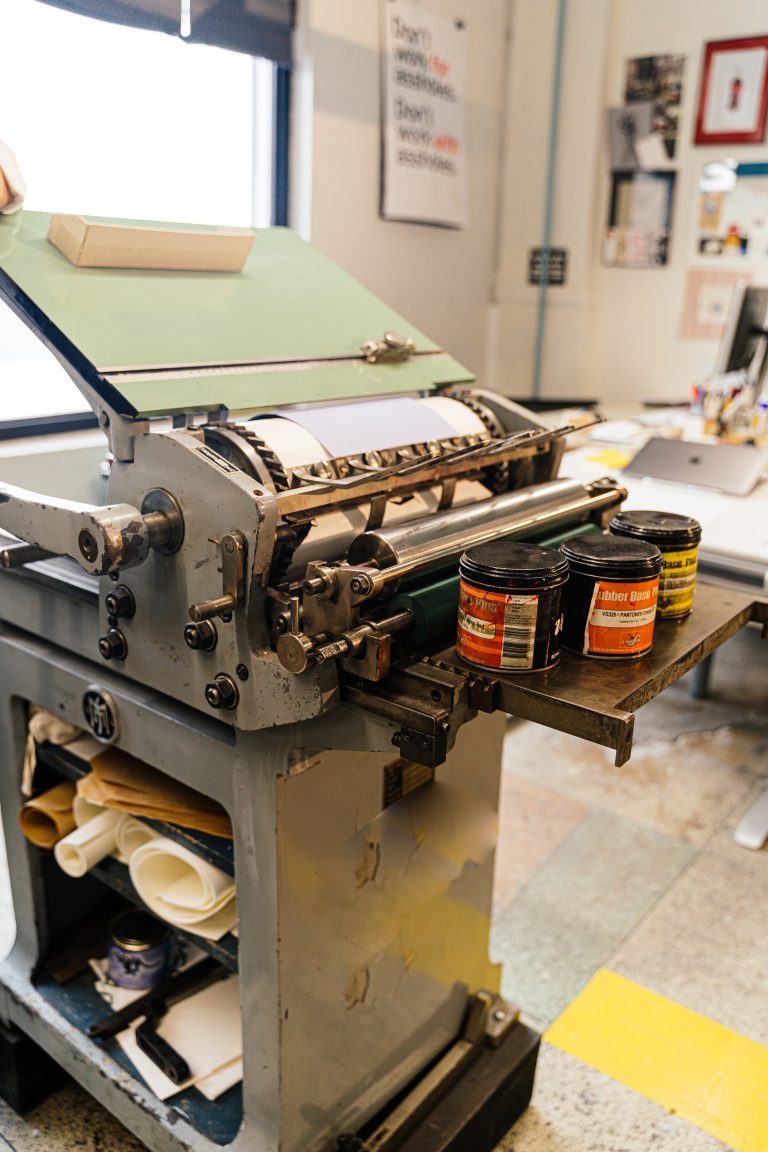
Venturing into the world of printing die cut stickers at home might raise the question: can a regular printer handle this task? The good news is, most standard home printers, be it inkjet or laser, can print the designs for die cut stickers. The key lies in selecting the right type of sticker paper that is compatible with your printer. While regular printers can print the design with ease, they won’t cut out the unique shapes. That’s where a separate cutting machine or pre-cut sticker sheets come into play. With a bit of creativity and the right materials, your home printer can be the starting point for stunning custom stickers.
DIY Die Cut Stickers: A Step-by-Step Guide
Delving into DIY die cut stickers is a journey of creativity and precision. This guide walks you through the process from conceptualizing your design to bringing it to life, using popular software like Illustrator and Canva. Whether you’re aiming for personal flair or professional polish, these steps ensure your sticker designs stand out.
Preparing Your Design for Die Cut Stickers
Crafting a design for die cut stickers starts with understanding the essentials of shape and style. Your design should complement the unique contours of a die cut, allowing for creative shapes beyond standard squares and circles. Utilize software like Adobe Illustrator or Canva for their versatile design capabilities. In Illustrator, take advantage of vector-based tools for crisp, scalable designs. Canva offers user-friendly interfaces and pre-made templates for those starting out. Remember, your design needs to stand out not just visually but also in terms of cutability, so consider ease of cutting when choosing your design elements.
How to Make Die Cut Stickers in Illustrator
Adobe Illustrator is a powerhouse for creating precise and professional die cut sticker designs. Start by setting up your document with the right dimensions, including a bleed area for the cutting process. Use the Pen tool for intricate custom shapes or the Shape tool for basic designs. Keep your lines clean and colors bold to enhance visibility. When your design is ready, add a separate layer for the cut line, using a fine, distinct stroke to outline the shape of your sticker. This cut line guides the sticker cutting machine, so ensure it’s accurate and clearly distinguishable from your design.
Creating Die Cut Stickers in Canva
For those who prefer a more straightforward approach, Canva is an excellent tool for designing die cut stickers. Begin by choosing the right dimensions for your sticker design, including the bleed area. Canva’s drag-and-drop interface makes it easy to add elements, text, and images to your sticker. You can either use the available assets in Canva or upload your own designs. Once your sticker design is complete, export it in a high-resolution format, such as PNG or PDF, ensuring it’s ready for printing. Remember to check if your cut lines are visible in the final export if your cutting method requires it.
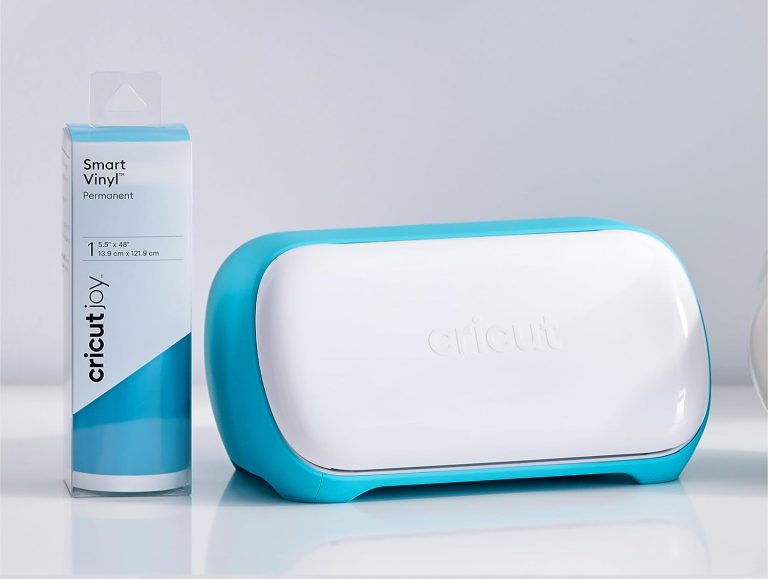
Using a Cricut for Die Cut Stickers
The Cricut is a game-changer in the world of DIY die cut stickers, offering precision and versatility. This section explains how to harness the power of a Cricut for making professional-quality stickers, along with tips for choosing the right materials and settings.
Can a Cricut Make Die Cut Stickers?
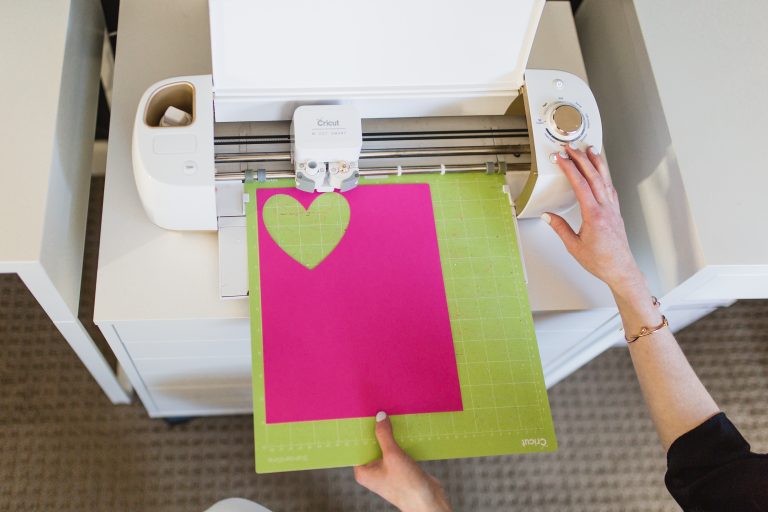
Absolutely! A Cricut machine is a fantastic tool for creating custom die cut stickers. Its precise cutting ability allows for detailed and complex shapes, perfect for personalized or professional projects. To get started, you’ll need a Cricut machine, a compatible cutting mat, and suitable sticker paper or vinyl. The type of material you choose depends on your sticker’s intended use – vinyl for durability and water resistance, or paper for easy writing. Additionally, utilize the Cricut Design Space software to upload and prepare your designs, ensuring they are cut to perfection.
How to Make Die Cut Stickers with a Cricut Maker
Using a Cricut Maker for die cut stickers involves a few key steps. First, design your sticker in a program like Illustrator or Canva and import it into Cricut Design Space. Adjust the size to fit your material and set the cut lines. Load your sticker paper onto the Cricut cutting mat and feed it into the machine. Select the material type in the software for optimal cutting – this ensures the blade depth and pressure are perfect for your specific sticker paper. Once cut, carefully remove your stickers from the mat. For best results, do a test cut first to fine-tune the settings.
Printing and Finishing
Printing and finishing are crucial steps in the sticker-making process, ensuring your designs not only look great but also last.
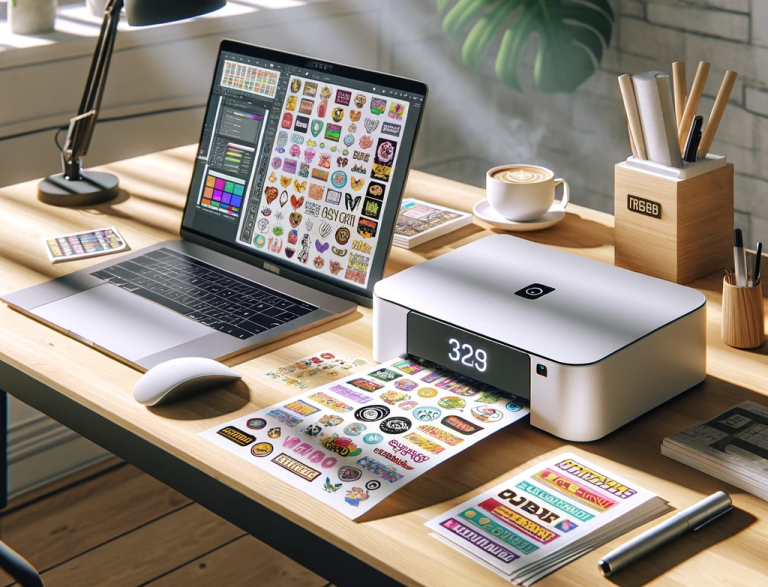
Choosing the Right Printer and Materials
The quality of your die cut stickers largely depends on the printer and paper you choose. For vibrant and long-lasting stickers, an inkjet printer is typically the best choice, known for its superior color reproduction. As for sticker paper, options vary from glossy, matte, to vinyl, each offering a different look and feel. Glossy paper is great for vibrant colors, matte for a more subdued and writable surface, and vinyl for durability, especially for outdoor use. Always ensure that your paper is compatible with your printer and use the highest quality settings for the sharpest images.
Cutting and Finishing Your Stickers
Once printed, cutting your stickers can be done with a Cricut for precision or manually with a craft knife for simpler shapes. The key is a steady hand and patience. After cutting, consider adding finishing touches like lamination for extra durability, especially if the stickers will be exposed to elements. Laminating sheets can add a glossy or matte protective layer, enhancing both the look and lifespan of your stickers. For manual cutting, use a sharp blade and a cutting mat for clean edges. These final steps elevate your stickers from homemade to professional-grade quality.
Troubleshooting and Tips
Creating die cut stickers can sometimes be a tricky affair, but knowing how to navigate common challenges makes the process smoother. This section covers essential troubleshooting tips and expert advice to ensure your sticker-making journey is both enjoyable and successful.
Common Challenges in Printing Die Cut Stickers
When printing die cut stickers, you might encounter a few hurdles like printer jams or design inaccuracies. Printer jams can often be avoided by ensuring your sticker paper is suitable for your printer type and not feeding multiple sheets at once. If your designs aren’t coming out as expected, double-check your printer’s alignment and color settings. For design issues, particularly with cutting, ensure your digital design aligns perfectly with your cutting machine’s guidelines. Regular maintenance, such as cleaning the printer heads and updating software, can also prevent many of these issues. Remember, a little bit of preparation goes a long way in avoiding these common pitfalls.
Expert Tips for Perfect Die Cut Stickers
From the desk of an experienced sticker maker, here’s some insider knowledge: quality materials are key. Investing in good quality sticker paper and ink can make a significant difference in the final product. Experiment with different designs and don’t be afraid to try out bold colors and unique shapes. If you’re using a cutting machine like a Cricut, keep the blades sharp and the firmware updated for optimal performance. As for creative uses, think beyond the conventional – use die cut stickers for personalized gift tags, unique business cards, or as a tool for branding and marketing. Let your imagination run wild!
Embarking on the journey of creating die cut stickers can be an incredibly rewarding experience. Throughout this article, we’ve covered everything from the basics of design to the specifics of printing and cutting. Remember, the key to success lies in experimentation and patience. Don’t hesitate to try out different designs, materials, and techniques. And most importantly, have fun with it! If you have any questions or unique sticker ideas, feel free to share them in the comments below.